Library and culling
Where a shoot arrives and most of it gets thrown away. Built for going through four hundred frames quickly.
- Import
- Point it at a folder. Files stay where they are — nothing is copied into a proprietary store, and the catalogue sits on your own disk in an open format.
- Ratings and flags
- Stars nought to five, and pick or reject flags, all on the keyboard. P, X, U, 0–5
- Filtering
- Show everything, picks only, rejects, or unflagged. Sort by newest, oldest, name or rating.
- Burst detection
- Frames shot within two seconds of each other on the same camera are grouped, so a twelve-frame burst takes one decision rather than twelve.
- Sharpness scoring
- Every photograph gets a score out of a hundred, measured from actual detail rather than guessed. Useful when six frames of a bird look identical at thumbnail size.
- Find missing photos
- Files moved or renamed outside the app are located and relinked rather than silently disappearing.
The develop panel
Everything here works in 32-bit floating point from the sensor through to export.
- Light
- Exposure, contrast, highlights, shadows, whites and blacks — measured at 0.00° hue drift even at their extremes.
- The histogram, as a control
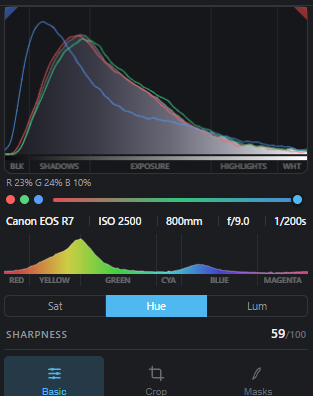
- Divided into blacks, shadows, exposure, highlights and whites. Drag the part of the curve you want to change and you are changing it.
- Curves
- Four-point tone curve — darkest, dark, light, brightest — working in float, so a steep curve does not band a sky.
- White balance
- Temperature and tint, from the camera's own as-shot values.
- Presence
- Texture at three pixels, clarity at twenty-four, dehaze, vibrance and saturation. Texture and clarity are far enough apart in scale that they stop fighting each other.
- Crop and straighten
- Free or constrained to an aspect ratio, with rotation in ninety-degree steps and fine straightening by degree.
- Before and after
- Hold a key to see the unedited file, or save a side-by-side comparison as an image. \ to hold, J for clipping
- Copy and paste settings
- Take an edit from one photograph and apply it to any number of others.
- Suggest adjustments
- Reads the photograph and proposes a starting point. A suggestion, not an edit — nothing is applied until you accept it.
Colour
Built to be understood while you use it.
- Eight colour bands
- Hue, saturation and luminance for red through magenta, each slider drawn in the colours it moves between — so you can see what a shift will do before you make it.
- Channel mixer
- Rebuild each output channel from the other three by dragging on a pad that shows what every position does. For monochrome, a hue wheel with one-click filter presets and weights normalised so brightness never jumps.
- Filmic roll-off
- A sensor records light with no ceiling; a screen has one. Highlights roll off the way film does rather than clipping flat.
- Camera colour
- Each photograph is converted using its own camera's colour matrix, read from the file rather than approximated.
- Vibrance that spares skin
- Lifts muted colour far more than colour already vivid, and recognises skin tones so a portrait does not turn orange.
Detail and optics
The unglamorous half, where most of the work in a difficult photograph actually happens.
- Three denoisers
- Kovex Standard for everyday grain, Kovex Adaptive for wavelet cleanup, and Detail Preserving for the frames that matter. All three measure the noise actually present and set their strength from it, rather than from where you put the slider.
- Colour noise, separately
- Its own control, on by default. Grain is often wanted; coloured speckle never is, and the eye cannot see the detail lost removing it.
- Sharpening
- Amount, radius and masking, so an edge sharpens and a smooth sky does not.
- Defringing
- Purple and green set independently, because green fringing sits next to the colour of leaves. It measures how far a colour runs from an edge — a fringe is one to three pixels, a leaf keeps going. tested: fringe 160→0, leaf 160→160
- Lens correction
- Distortion, vignetting and chromatic aberration corrected from your lens profile, matched from the file automatically.
- Moiré reduction
- Finds where colour varies faster than brightness — which is what moiré is — and smooths only there.
- Vignette
- Amount, midpoint, roundness and feather, applied after the crop so it follows the frame you kept.
Masking
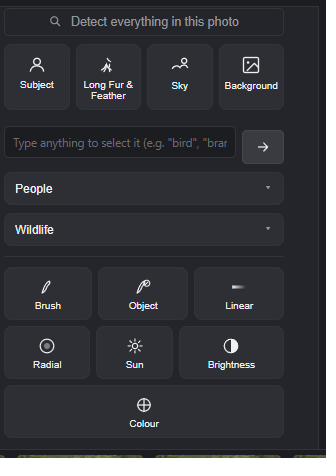
The reason this application exists. Ten ways to select part of a photograph, and the whole editor inside each one.
- Subject
- Finds the animal or person and cuts around them. A distant subject is detected a second time on a crop, so a bird thirty pixels across gets the full resolution rather than thirty pixels of it.
- Long Fur & Feather
- For edges made of hair. Follows each filament outward, steps over the grass blades it crosses, and lets the matting decide how much of every pixel is bird.
- Sky
- Separates sky from everything else, including through branches and between leaves.
- Background
- The inverse of the subject, ready to darken, cool or blur.
- Object
- Click a thing and it is selected — a perch, a flower, a distraction you want gone.
- Describe it
- Type what you want selected. For the things with no button: the water, the fence, the red jacket.
- Brush
- Paint a selection by hand, with edges that hold up when the adjustment is pushed hard.
- Linear and radial
- The graduated filter and an ellipse you can rotate, feather and invert.
- Sun
- Light radiating from a placed source, breaking into irregular beams, with the ray count and their depth adjusted on the photograph itself.
- Combine anything
- Add, subtract or intersect any mask with any other. Every step stays separate afterwards — click one to bring its handles back, move it, or remove it, and the mask rebuilds around what is left.
- Forty-four adjustments per mask
- Every tone control, temperature and tint, all six colour bands, a curve, texture, clarity, defringe, dehaze, moiré, sharpening, its own vignette, the channel mixer — and all three denoisers, chosen per mask.
- Presets on a mask
- Apply any preset to a selection rather than the whole frame. Try three looks on the bird while the background stays where you left it.
Merge tools
The things you would otherwise open a second program for. No round trip, no file that has lost half its latitude on the way back.
- Focus stacking
- Frames focused at different distances combined into one sharp photograph — for a dragonfly where no single frame holds the whole insect.
- HDR exposure fusion
- Bracketed frames blended per frequency band, so the range is recovered without flattening the picture into the middle. A dark cave with light pouring into it stays a dark cave with light pouring into it.
- Panorama stitching
- Frames aligned by content, feathered on both edges so no seam shows, and trimmed to the rectangle every frame covers rather than leaving a ragged outline to crop by hand.
- Sixteen bits throughout
- All three write 16-bit results, so the merged file has room to be graded rather than arriving already finished.
Presets and looks
- 150 bundled
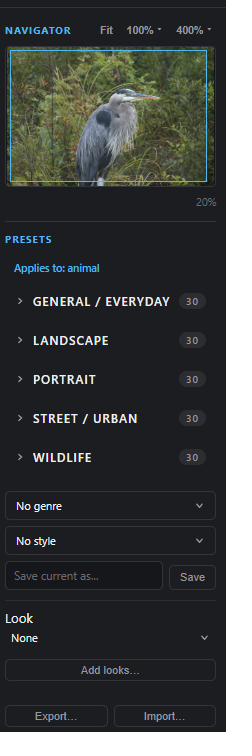
- Organised by genre — general, landscape, portrait, street and wildlife — thirty in each.
- Your own
- Save the current edit as a preset from any photograph, with no limit on how many.
- Import and export
- Move presets between machines, or share them.
- Applied to a mask
- Any preset can be applied to a single selection rather than the whole frame.
Getting work out
Built for handing photographs to a client, not only for posting them.
- Export formats
- JPEG with quality control, PNG for lossless, and 16-bit TIFF for printing or further editing elsewhere.
- Sizing
- Full size, or long edge at 4096, 2560, 2048 or 1080 pixels — screen and social sizes without doing arithmetic.
- Batch and rename
- Export a whole selection at once, with a renaming pattern applied as it goes.
- Watermarking
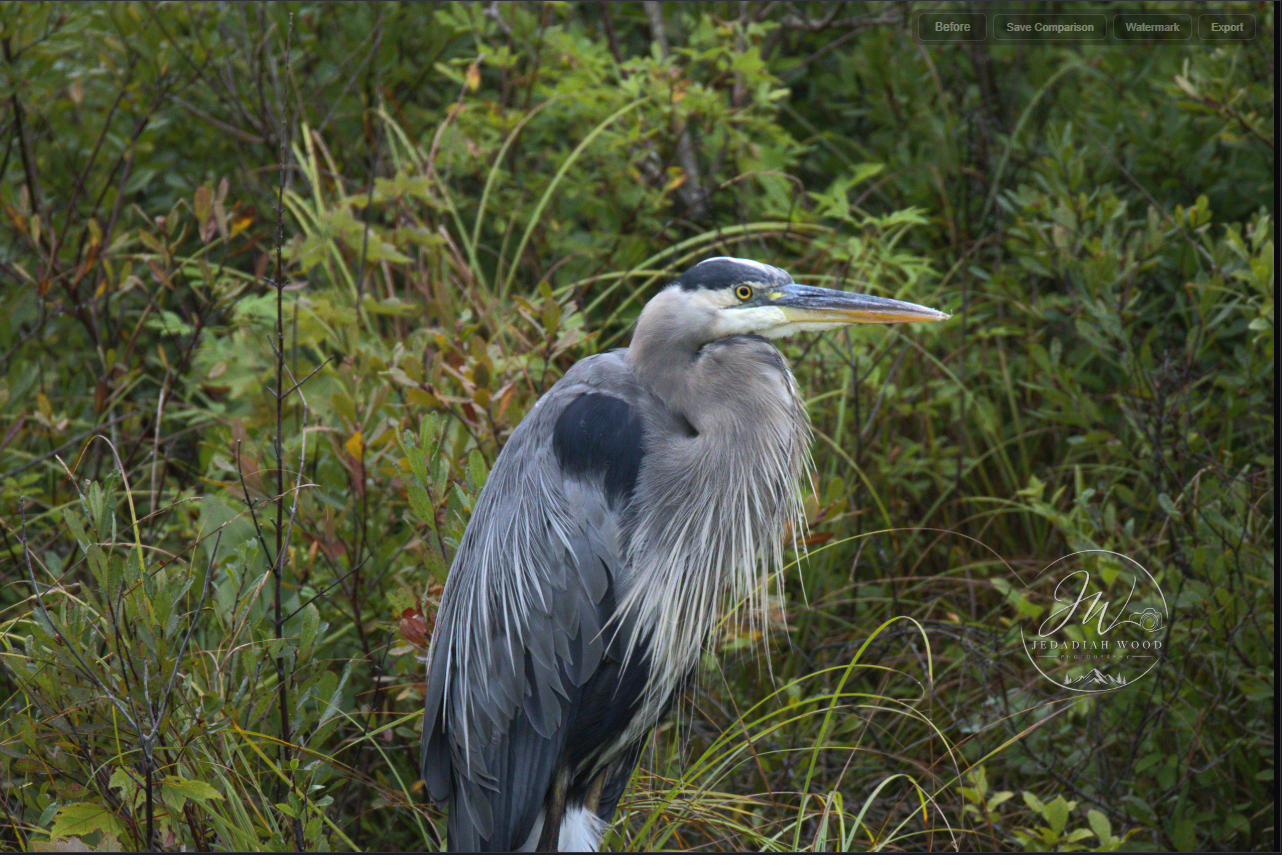
- Place a mark anywhere, at any size, turned to any angle — on one photograph or five hundred.
- Client proofing gallery
- Generate a browsable gallery from your picks, a selection, or everything, with your studio name on it — a folder you can hand over or upload anywhere.
- Contact sheet
- A printable sheet of a shoot, for proofing on paper.
Under the hood
- 32-bit float, end to end
- Every stage — denoise, sharpening, masks, grading, vignette. Nothing quantises the photograph to 256 levels on the way through, so a blown wing still has detail to recover at the far end.
- Your graphics card
- Denoising, blurring and subject detection run on the GPU where one is available and fall back to the processor where it is not, so nothing simply fails. detail-preserving denoise: 8,622 ms → 357 ms
- Modest memory
- Around 2 GB while editing, measured. The heaviest detection peaks at 6 to 8 GB while it runs. Adobe ask for 8 GB minimum and recommend 16.
- Non-destructive
- Your RAW files are never modified. Edits live in the catalogue and are applied on export.
- Background work
- Previews and analysis run behind what you are doing, so opening a folder does not mean waiting for it.
- Tested formats
- Canon CR3 and CR2, Nikon NEF, Sony ARW, Fujifilm RAF including X-Trans, Panasonic RW2, OM System ORF — each opened and checked, not assumed.
All of it, once, for $100
Three computers. Every v1 update. Seven days to change your mind.
Buy Kovex Rawify